iMX8M Industrial Connecting the Components and Cables
This page is intended to show the necessary connections and steps to successfully boot and operate the development kit.
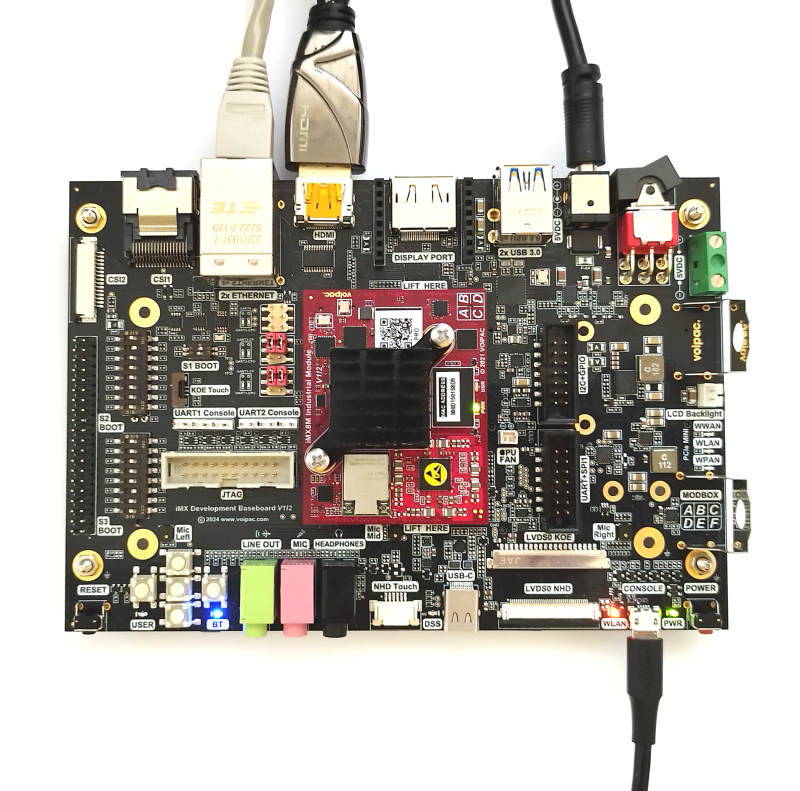
Connecting the board using HDMI Output
Prepare iMX Development Baseboard and plug in HDMI cable, Micro USB Cable, Ethernet cable (the correct connection of the ethernet cable is mentioned below) and other devices or interfaces you need. Plug the power supply connector in.

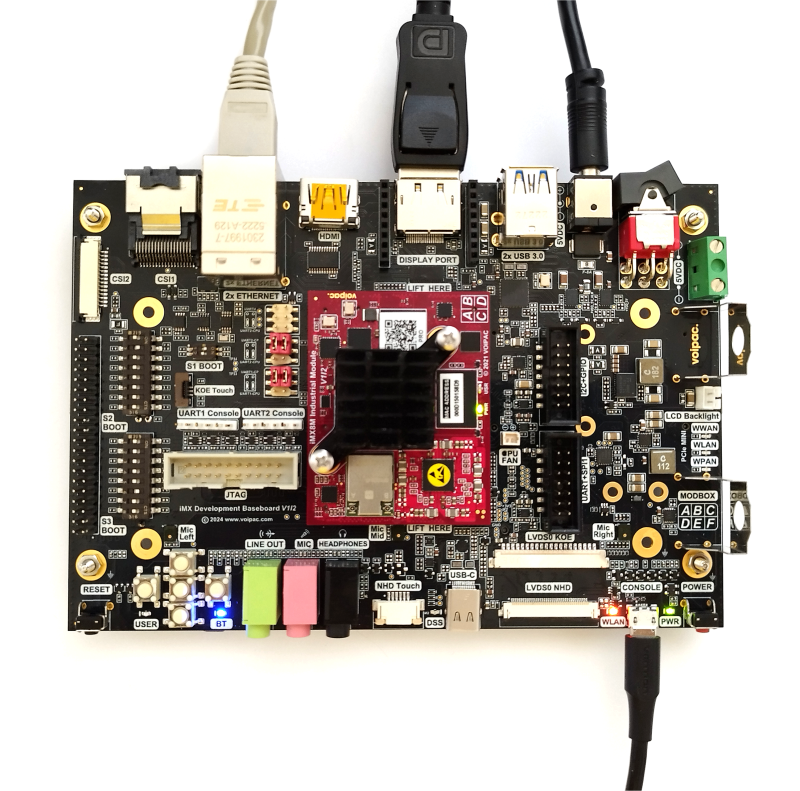
Connecting the board using DisplayPort Output
Prepare iMX Development Baseboard and plug in DisplayPort cable, Micro USB Cable, Ethernet cable (the correct connection of the ethernet cable is mentioned below) and other devices or interfaces you need. Plug the power supply connector in.

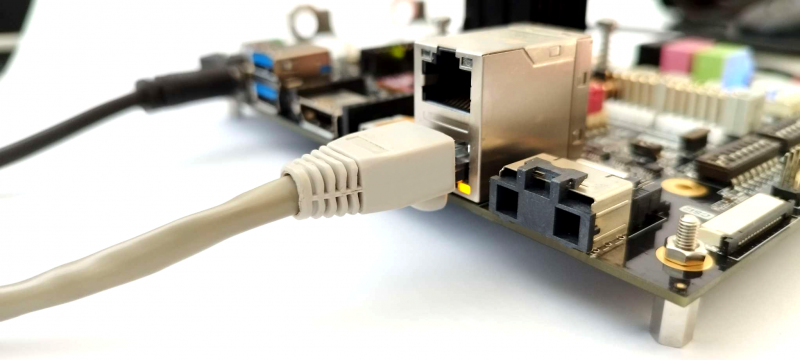
Connecting the Ethernet cable
Connect the Ethernet cable to bottom connector (preset as default) of the Ethernet port.

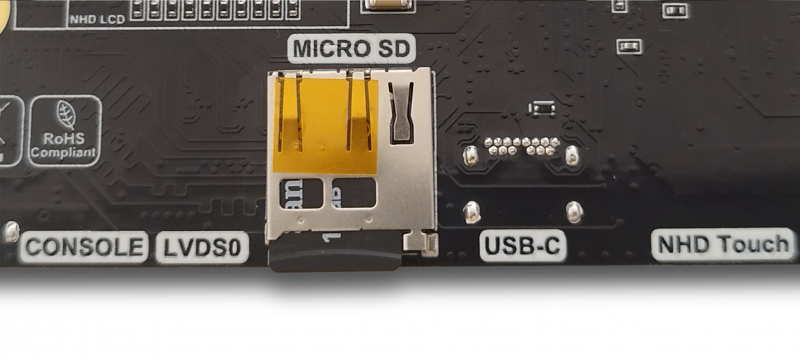
Connecting the microSD Card (OPTIONAL)
Insert the micro SD card into the micro SD Slot in case that booting is set from the micro SD card.
NOTE: The Development Kit, which have default setting to boot from SD Card, already contains an inserted SD Card.

NOTE: Before Turn On, make sure that S1, S2 and S3 BOOT DIP switches are in correct positions in order to boot from the selected storage media (eMMC Flash memory or SD Card). For more details visit: iMX8M_Industrial_Flashing_Procedure#Running_the_newly_flashed_binaries